Releasing PCB Data for Production: Think Twice!

Pressing the button to release a PCB design for production is a major event in the life of a PCB designer. It is the culmination of days, months or years of work. After releasing the PCB data, we can relax… But inevitably, we start to feel anxious that we have missed something. Many of us have experienced waking up in the middle of the night, realizing that something was indeed wrong, and rushing to the computer to see if we could cancel the job! There are several things that can help us spot problems before we send out the job and right after.
Step 1: Verify Design
To avoid errors, delays and possible re-spins To limit the production, it is important to know the production capabilities of the factory we will use. A first step is to set the design rule checks (DRC) parameters of our CAD system so we can verify our design against our manufacturer's capabilities or a standard we will both use.
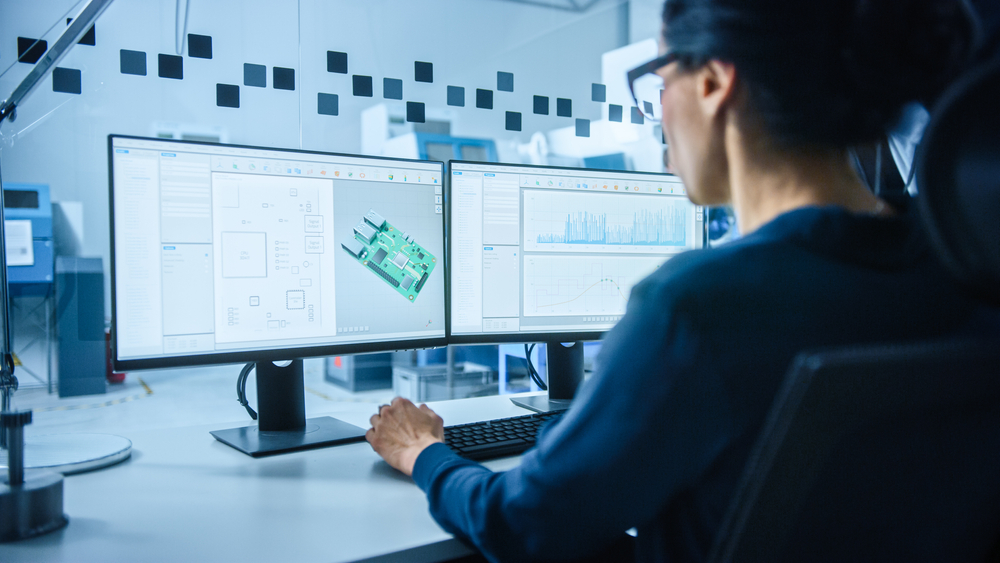
Step 2: View design in different environments
At some point we even lose the sense of the actual dimensions of the PCB, because we have been zooming in on it for so long. Therefore, it is a good idea to view the design in different environments. A Gerber viewer gives us two possibilities for this. First, the Gerbers are closer to the manufacturing data. And second, the viewr normally have a different color scheme, which can sometimes make mistakes stand out. Any fresh look at the design from a different environment than the one we normally use is very helpful. It fixes the blind spots we have from staring at something for so long. We can also ask others to look at the design.
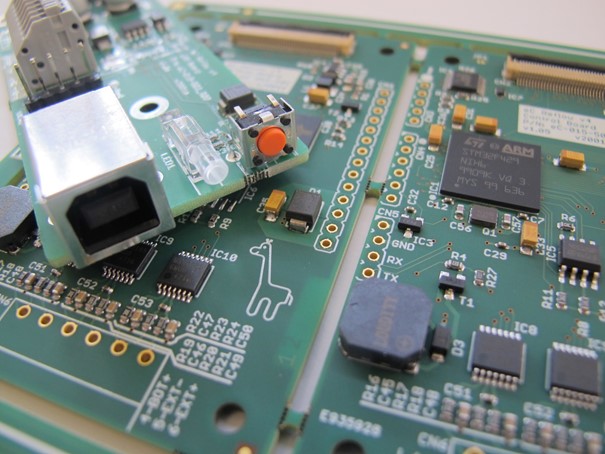
 Some CAD packages allow for full mechanical integration, but not every designer has such a package. For those who don't, I would recommend the design to print at 1:1 scale. This gives us two things. First, we can see the actual dimensions of the printed circuit board for the first time, so that obvious errors are immediately apparent. Second, we can fit the real components onto the print to ensure tolerances and footprints to verify. (I have always tried to samples to have all the components I use before I design sent to production precisely for the purpose of this exercise). This way, you can spot potential problems much more easily than by looking at a screen, such as clearances between connectors – will a torque wrench still fit between the SMAs?
Step 3: Production analysis of your design
After all this, you can upload the design to the Eurocircuits' Visualizer for a second fresh look and a production analysis that is independent of your design software and one that is aligned with the production capabilities of Eurocircuits. We call this Virtual Manufacturing. If everything is good there, we can order the PCB. Hurray!
The Assembly Visualizer can create a 3D representation of the PCB after virtual production is completed.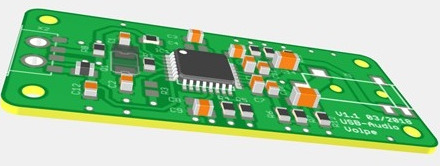
Final rescue after launch
A final rescue after the launch of the order. Eurocircuits has another 'trick' to help us and that is the 'Pre-Production Approval' (PPA) function.
All PCB manufacturers adapt your design data to their manufacturing process and minimize manufacturing problems. They do things like maintain silkscreen clearance, filling small holes in the copper, or adding break tabs. That’s usually a good thing. If they think the change won’t affect functionality, they’ll go ahead. If there’s a chance it could affect functionality, then they should – like Eurocircuits – let you know so you can approve that change before going ahead. With Pre-Production Approval, we as the customer are able to look at these production files and make sure everything is in order just before the PCB goes into production.
Cooling-off period
I consider the time between submission and request for approval to be a useful cooling off period. I am now more relaxed and have had a bit of time to 'sleep on it'. It is a chance to look at the design with a fresh eye and pull the emergency brake if I find a problem. The time Eurocircuits takes to prepare a request for approval and the time you take to respond (without delaying the lead time) will depend on the details of the order. For example, if the lead time is two days, you will be notified quickly and you will need to respond quickly. If the lead time is five days, there will be more time for both the application and approval period.
Eurocircuits, specialist in prototypes and small series PCBs and Assembly
Approval for production
There are two ways to tell us that you want 'Pre-Production Approval'. You can check the PPA box at the bottom of the 'Summary' tab of the Visualizer when placing an order or select it from the 'Pending Orders' page in your account. But please note that PPA is no longer available once the order status has reached 'Panelise'. We will then let you know when the design has been fully processed so that you can approve the actual production details. We will send you an email and also an SMS alert if you provided your mobile number when placing the order.
Production and delivery
When we send you a request for approval, we have completed the data preparation and are ready to proceed with the production and delivery of your PCB according to your chosen lead time. In order to maintain that time frame, we recommend that you give your approval as soon as possible after the request. Even if there is a chance of a delay in production, I think it is worth it, because it is easier and cheaper to delay than to have to pay and wait for a remake.
 Author of the text in English – Saar Drimer – Electronics engineer, author and editor in the Eurocircuits marketing team.
Translation and editing into Dutch by Dirk Stans – managing partner of Eurocircuits – chairman of the FHI IP branch and treasurer of the FHI.
Eurocircuits website: www.eurocircuits.com
View the member profile: fhi.nl/profiel/eurocircuits-nv
Related companies